


Post by saabfan on Jan 1, 2016 13:08:49 GMT
How to Fix the Cape Bug
Certain connections in Lego Digital Designer do not work the way we would like and sometimes attempting for proper part placement can get quite irritating. This quick tip will help you to get rid of one of these issues - 'The cape bug'.
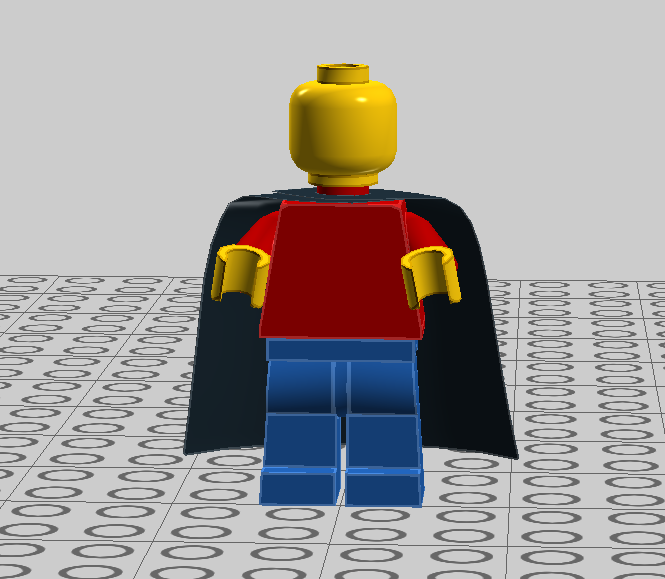
Building a minifigure with a classic cape in LDD, one would follow the typical procedure of placing parts - starting with the legs, then the torso, followed by the cape and the head on top. Unfortunately, this results in an ugly gap underneath the head, just like you can see on the image below. And no matter how much you try to force the head down, the nasty gap remains.
One way to fix that is using a little setup like this:
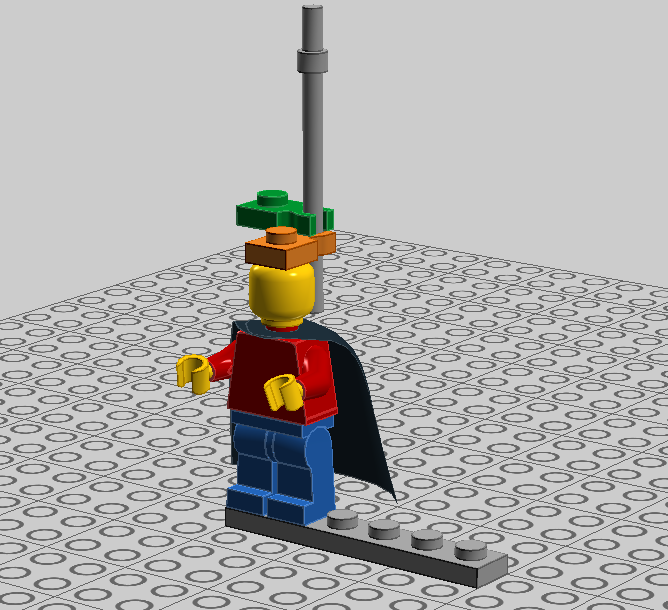
With this built, you can now select the legs, the body and the cape and shift these sideways.
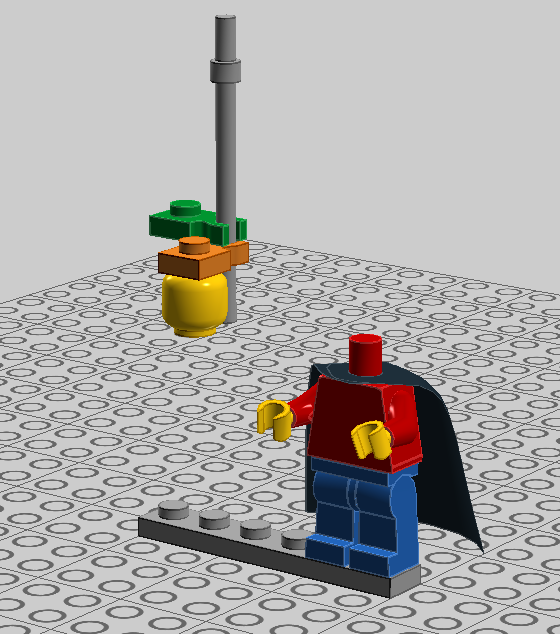
Now you should be able to select the head and the green piece and slide them down along the bar by about 1 millimeter - the green piece exists for checking out the slide-down distance. After that you can shift the body back onto its initial position.
Viola! The gap is now almost invisible!

This method is quite flexible and should work in most cases, regardless the orientation of the minifigure.
One thing you need not to forget is that after this tweaking, the head is not properly connected to the body and e.g, the 'Connected Selection' tool will not select whole figure. Of course you can select it manually, still this gap disposing routine is recommended only when you know that the position of your minifigure is final.
Do you find this trick useful? Or did you figure out your own (and better) way how to deal with this issue? Feel free to share your thoughts in the comments!